Galactic Gals
Event Location: Cocoa-FL
Competition: Junior Solar Sprint
Division: 4-6 (JSS Green)
School: Sally Ride Elementary
Team Size: 4
All About The Creators
Names: Sasha, Aliyah (5th) Sofia, Alice (4th) School: Sally Ride Elementary
Grades: 5th & 4th-grade Collaborators: Mrs. Berriz
———————————————————————————————————————————–
Materials
- Balsa wood 1/4 x 1/4 stick
- Straw
- Velcro strap
- 3-D printed cylinder
- Solar Panel
- Rubber Band
- Battery Holder
- 1 & 1/8 cm gear
- 4 cm gear
- Guide
- Motor
- 2 6 cm Wheels
- 3 cm wheel
- 14 cm Rod
- 7 cm Rod
- 2 tubes
—————————————————————————————————————————————
The Engineering Process
This process took several days. Every morning we met in the STEM lab with Ms. Berriz to work on our project. Our car was our priority but from the very beginning, we keep a record of what we were doing on paper. Not always was the whole team working, but those records helped us a lot to know what was done by our friends when some of us weren’t there. We used our recess time and frequently stayed after hours. At the time we realized that we needed to work on our website at the same time we were working on our car to make sure that our team could be ready on time for the Cocoa Beach competition. These are our notes.
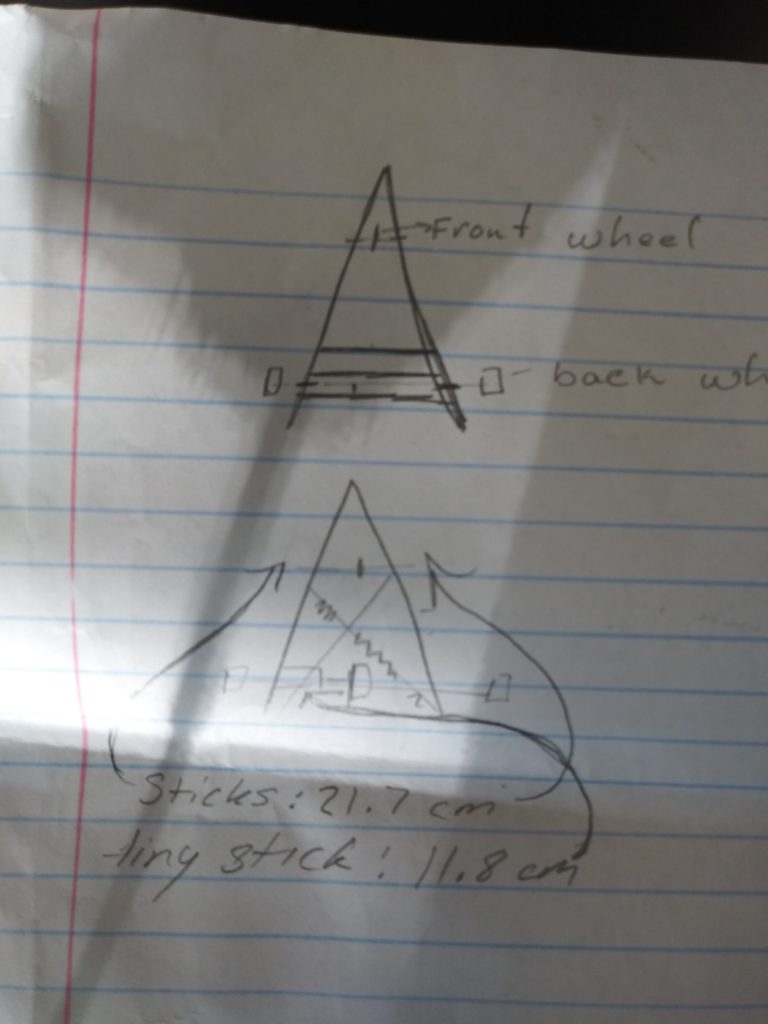
3/2/22
We were trying to make a design that was as light as possible but we were using too much material. So we went back to the drawing board. After that, we thought of what could be, aerodynamic and light. We came out with a unique design. Only two wood sticks and a couple of transversals were enough to build a light but fragile chassis.
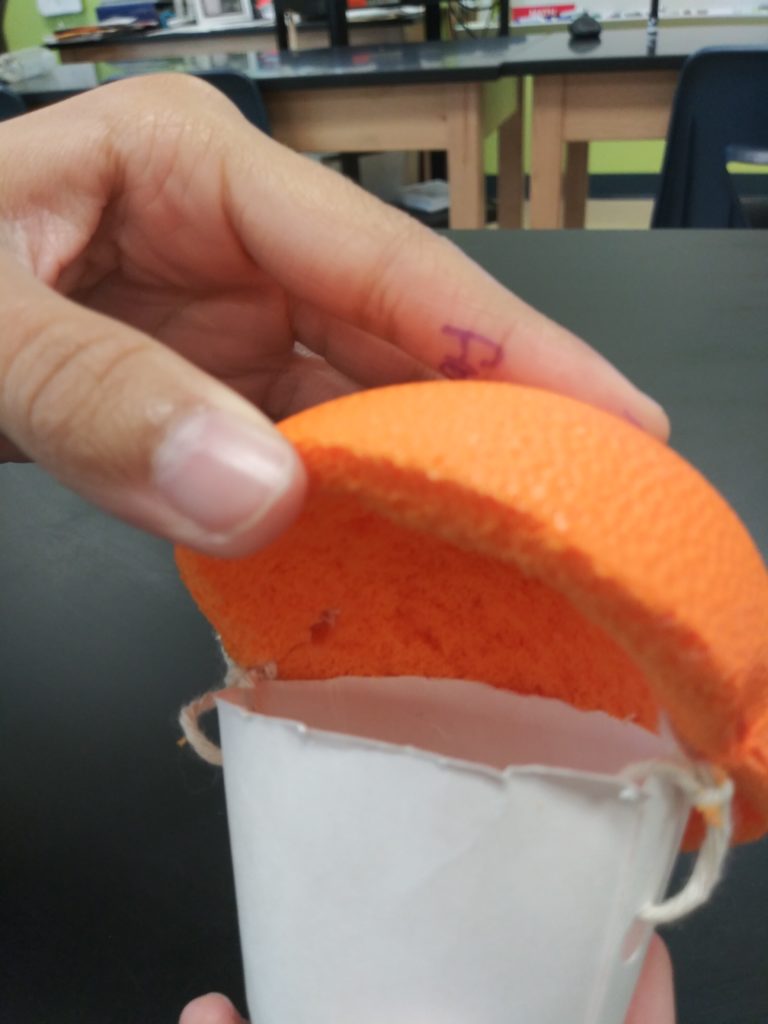
3/9/22
We started to look for less-weight material, so we thought we should use balsa wood sticks. To hold the golf ball we used a mini cup and carved out half of a squishy ball. We hole punched each side of both items and tied a string through them. We also took some measurements of the car.
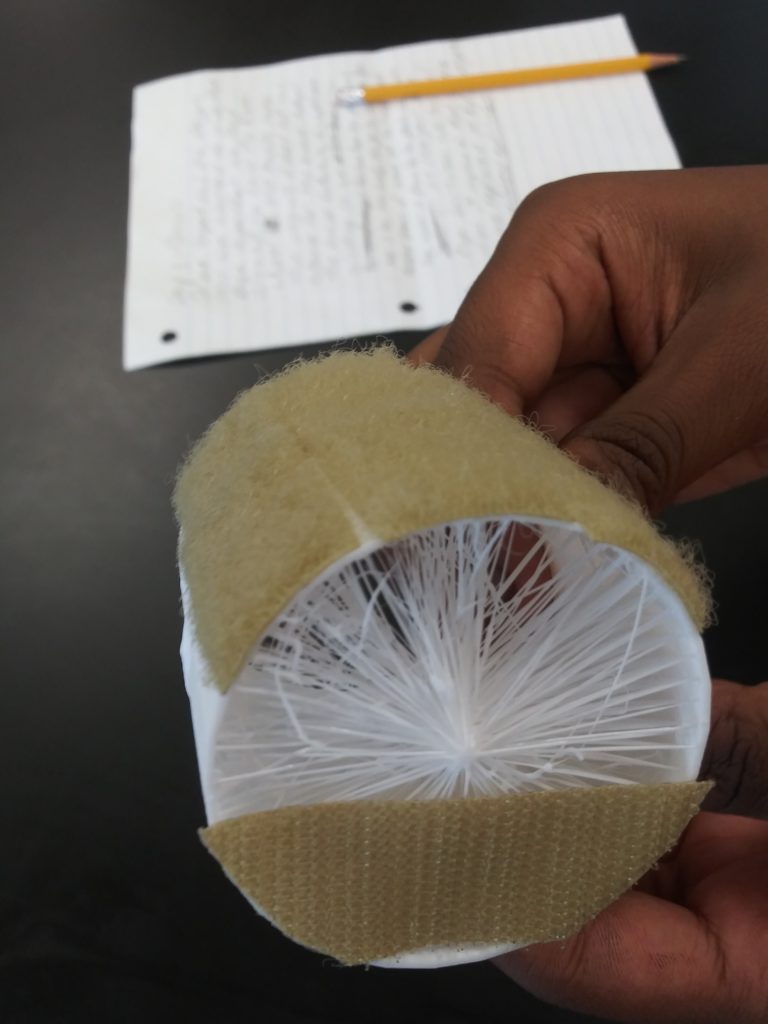
3/16/22
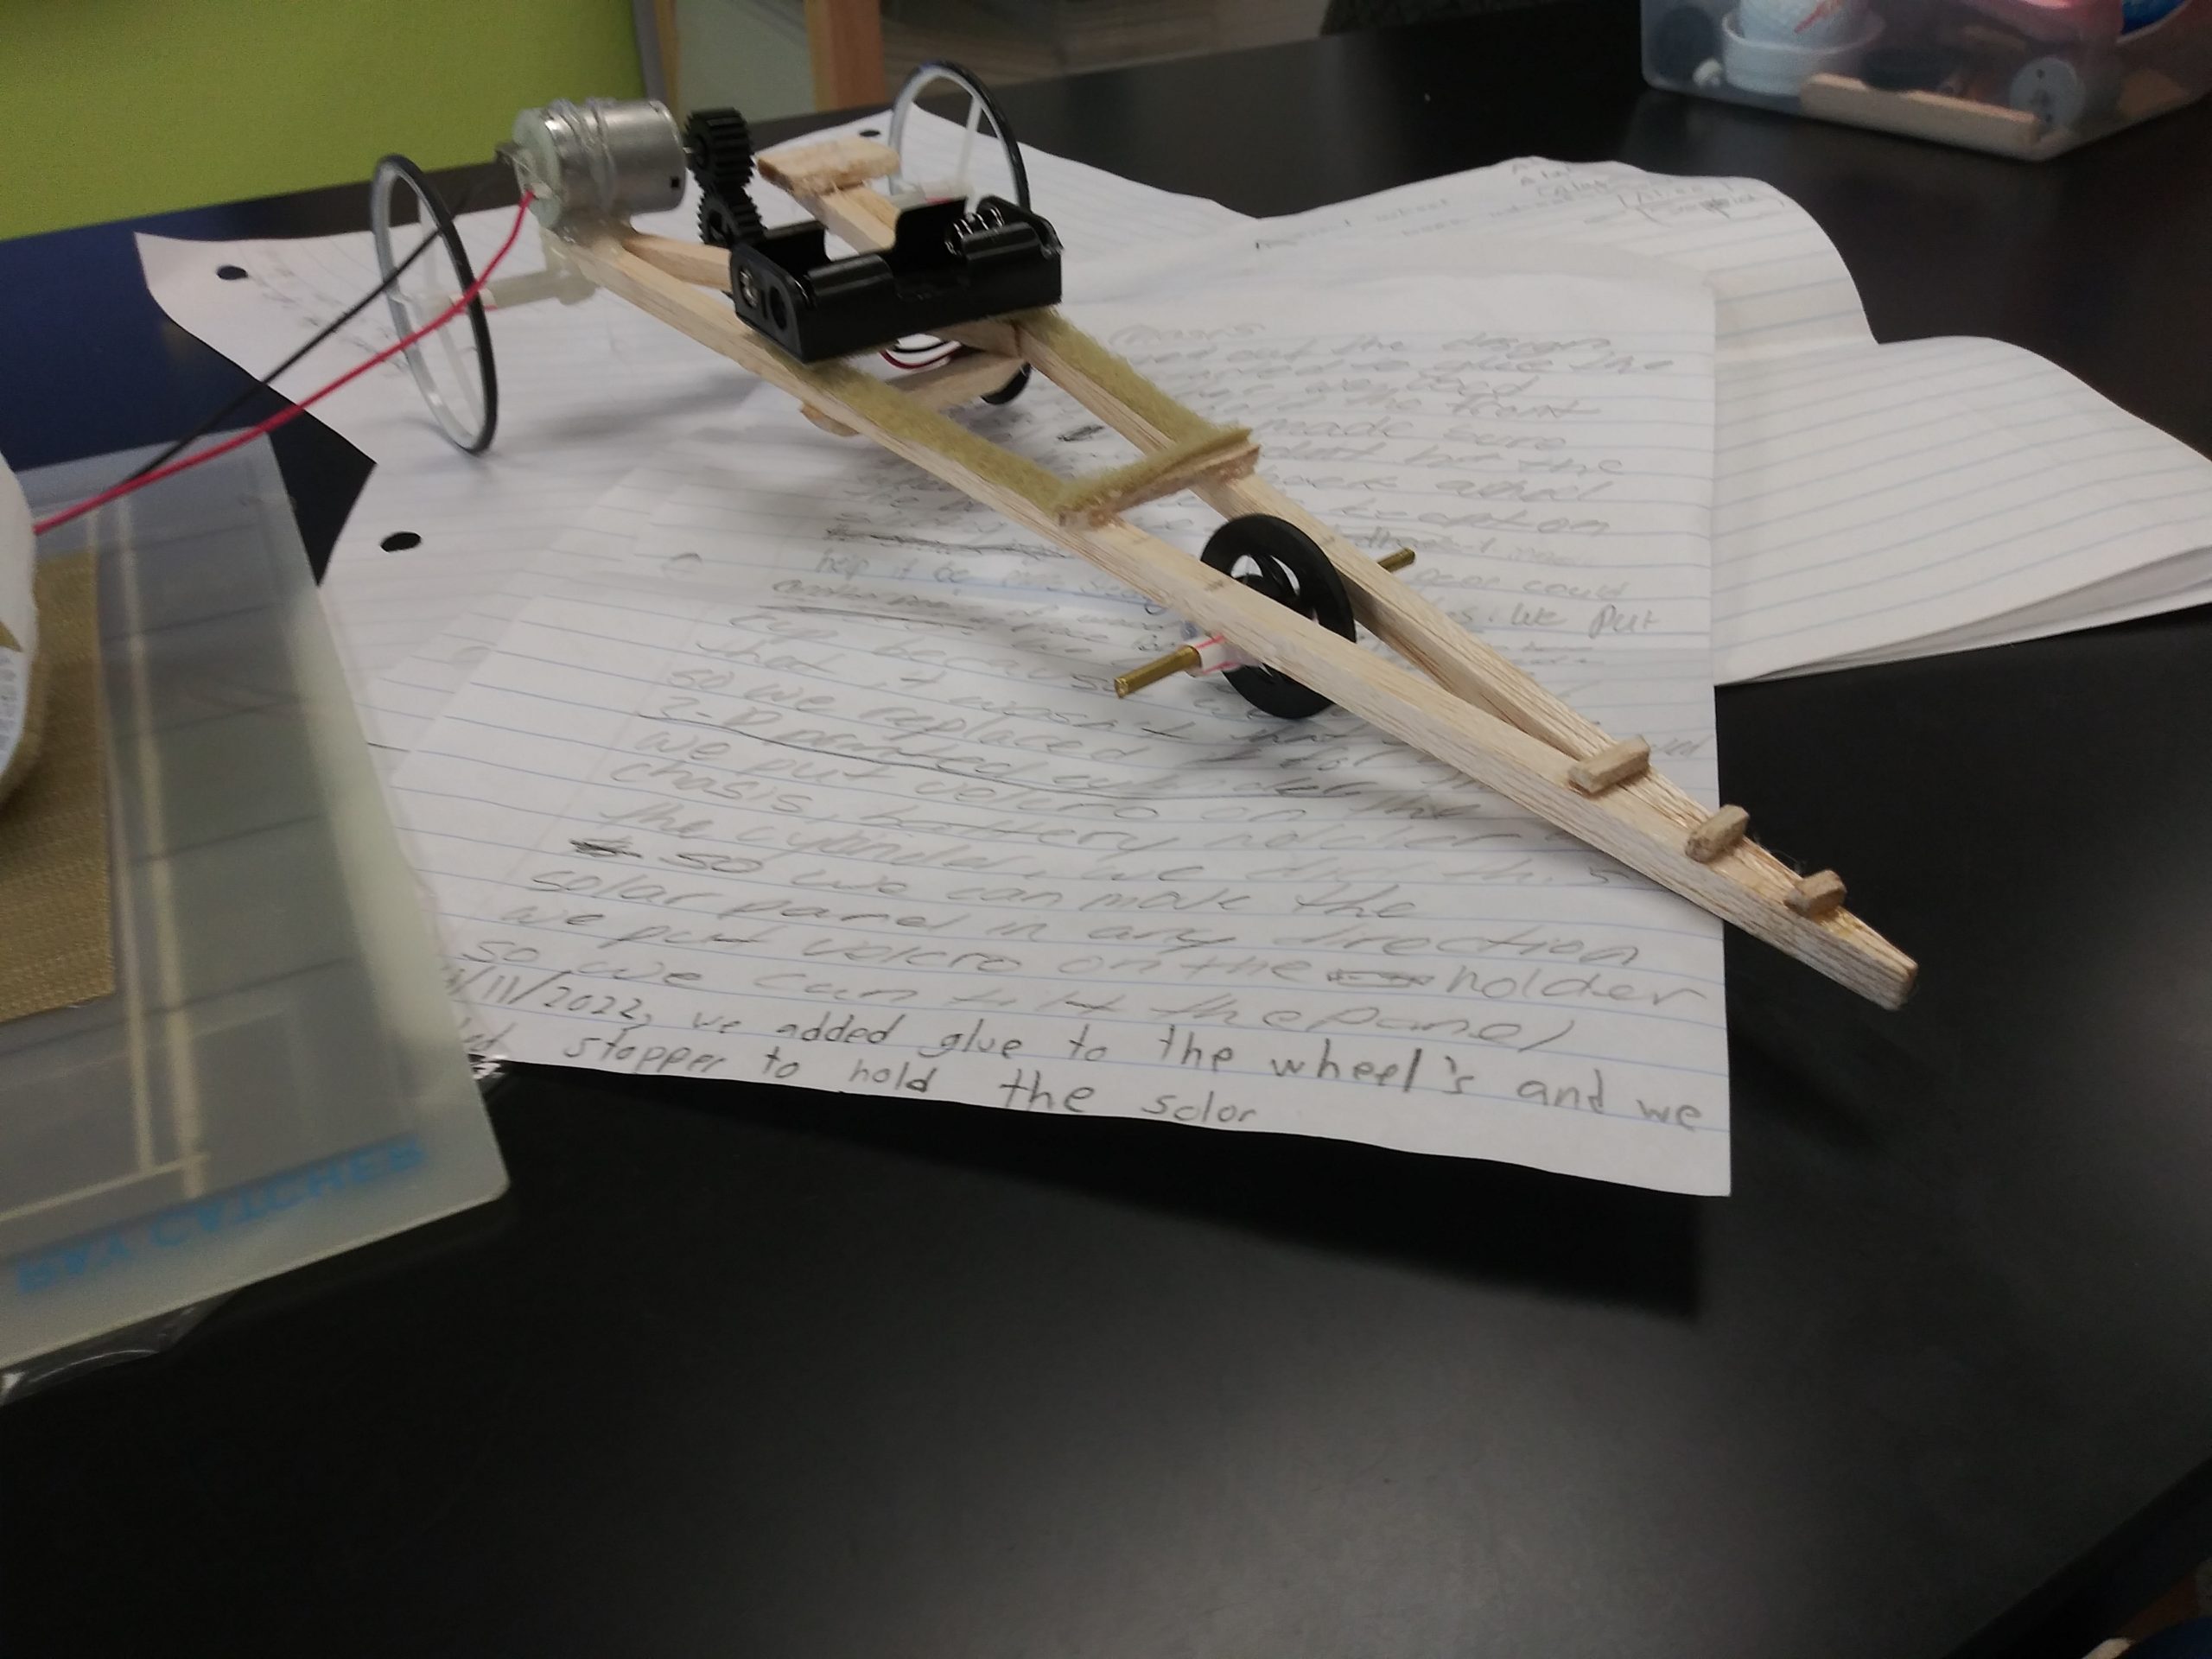
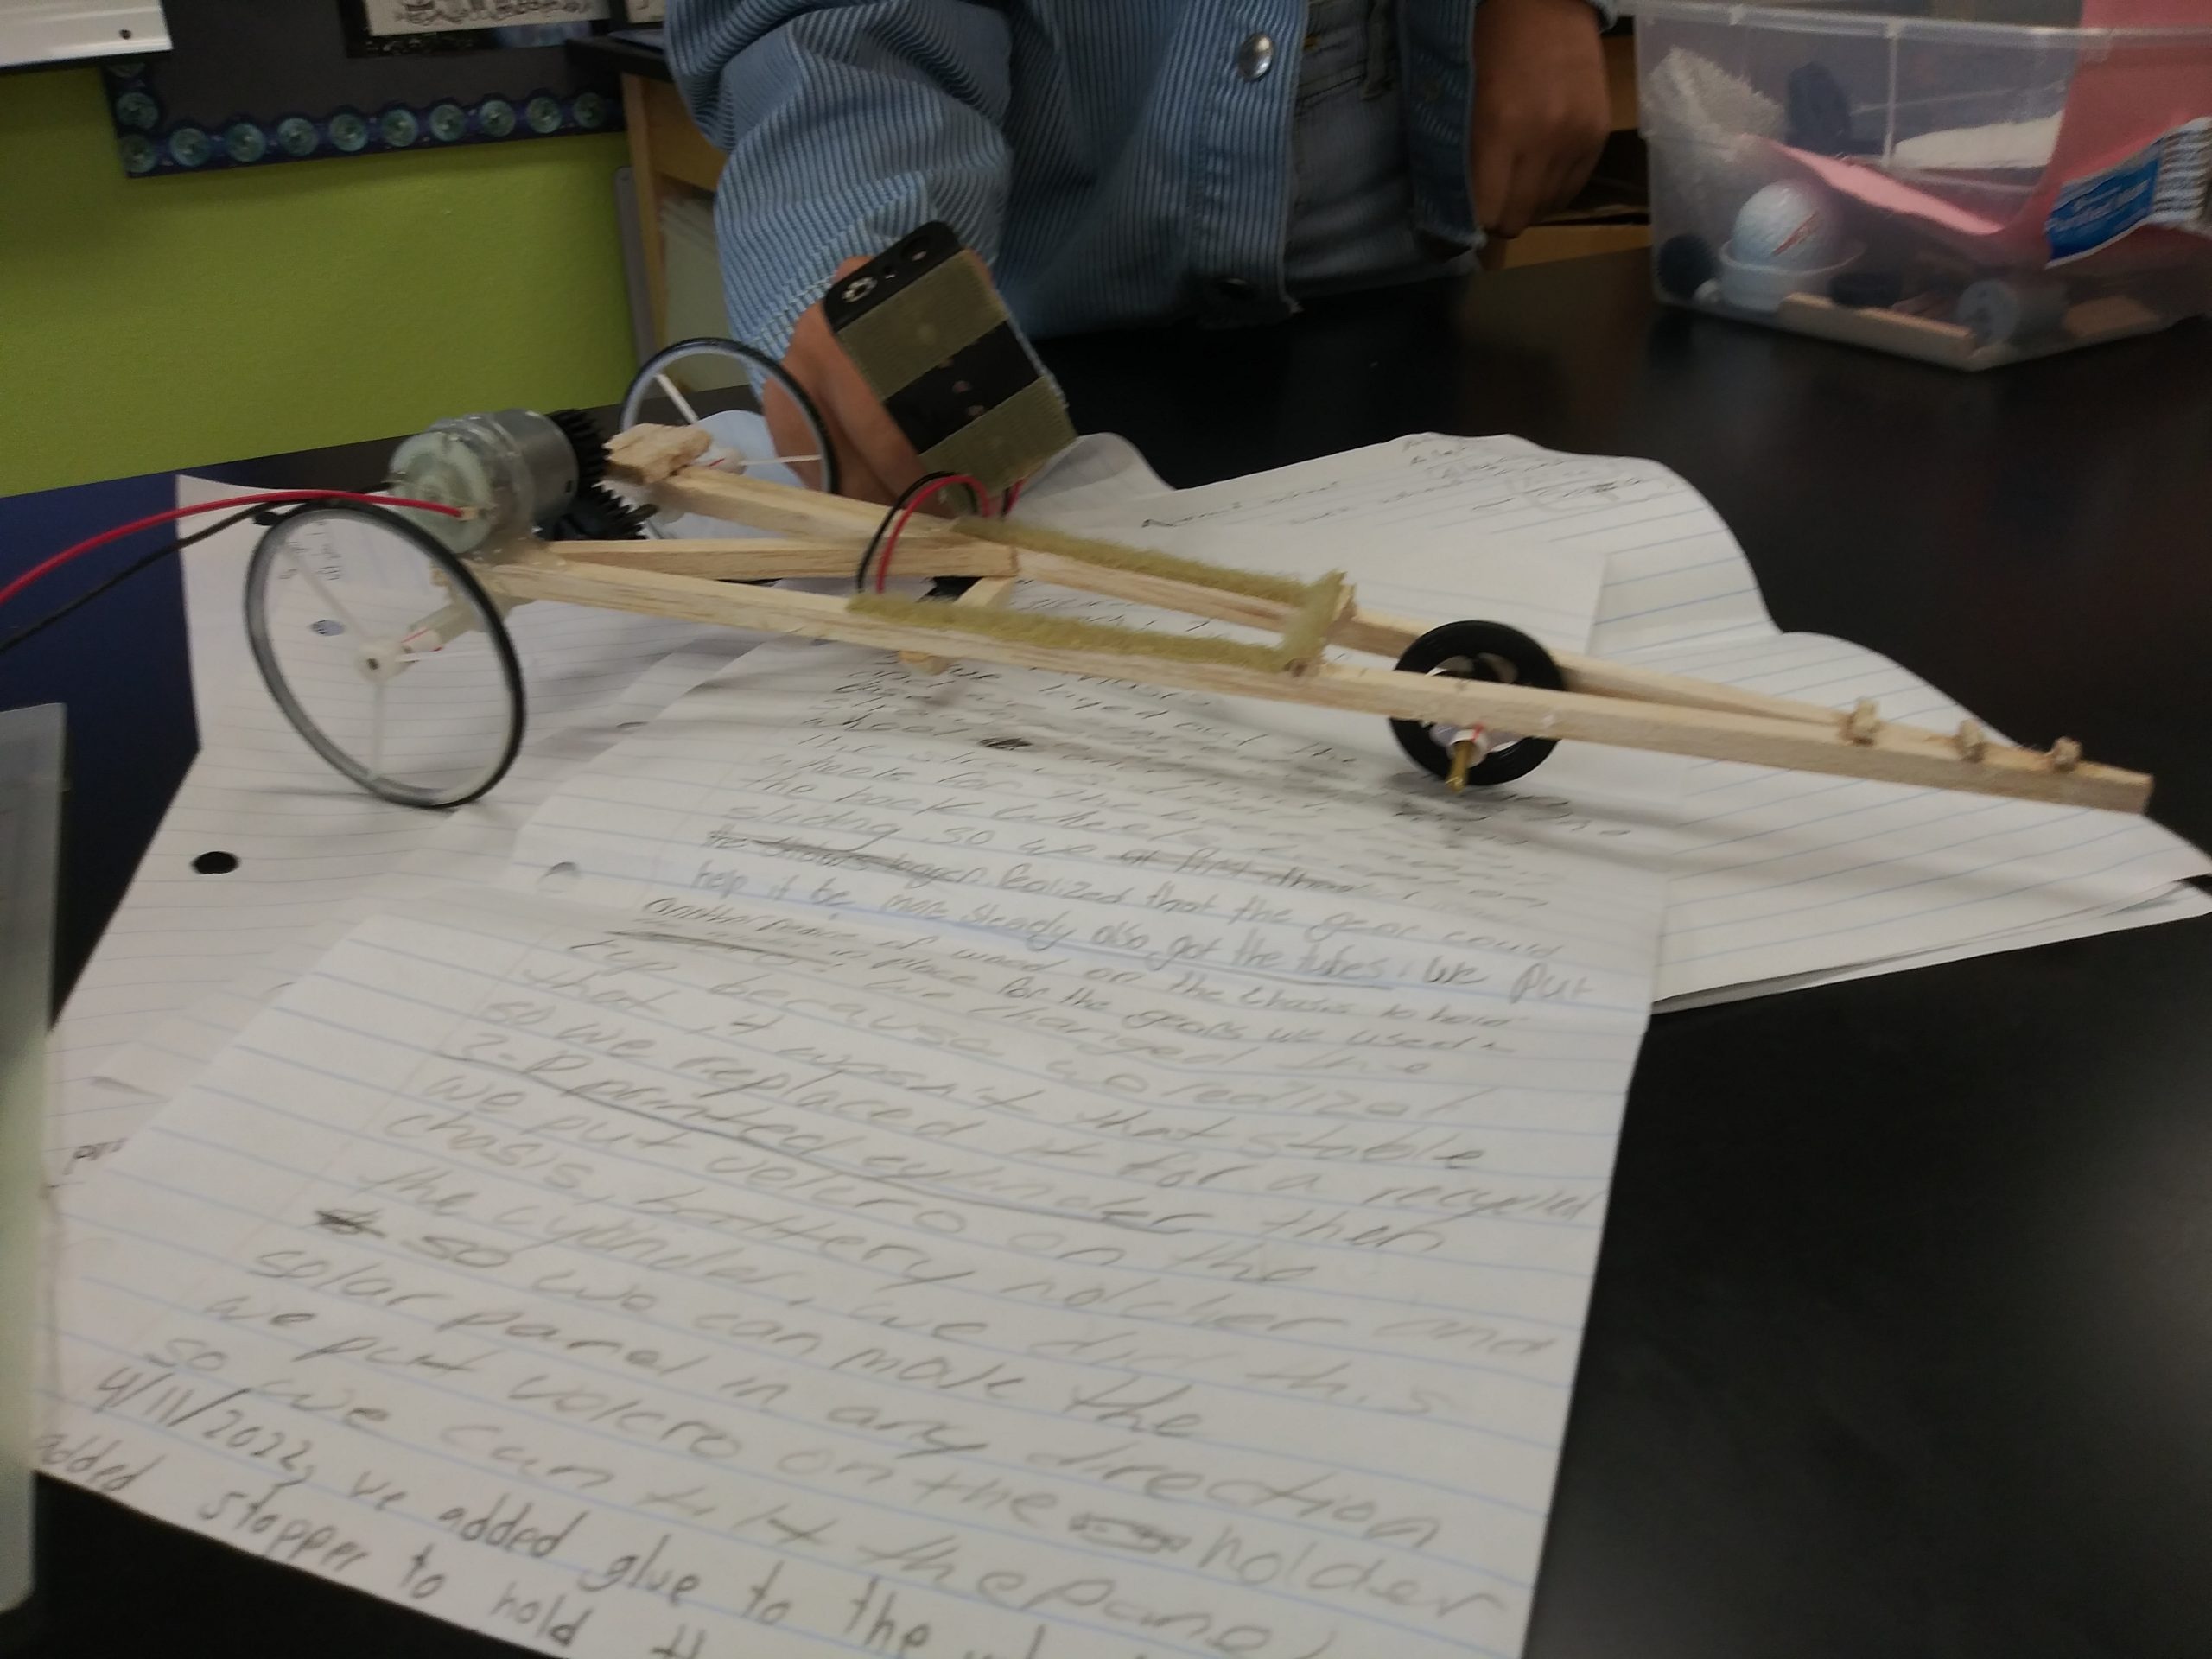
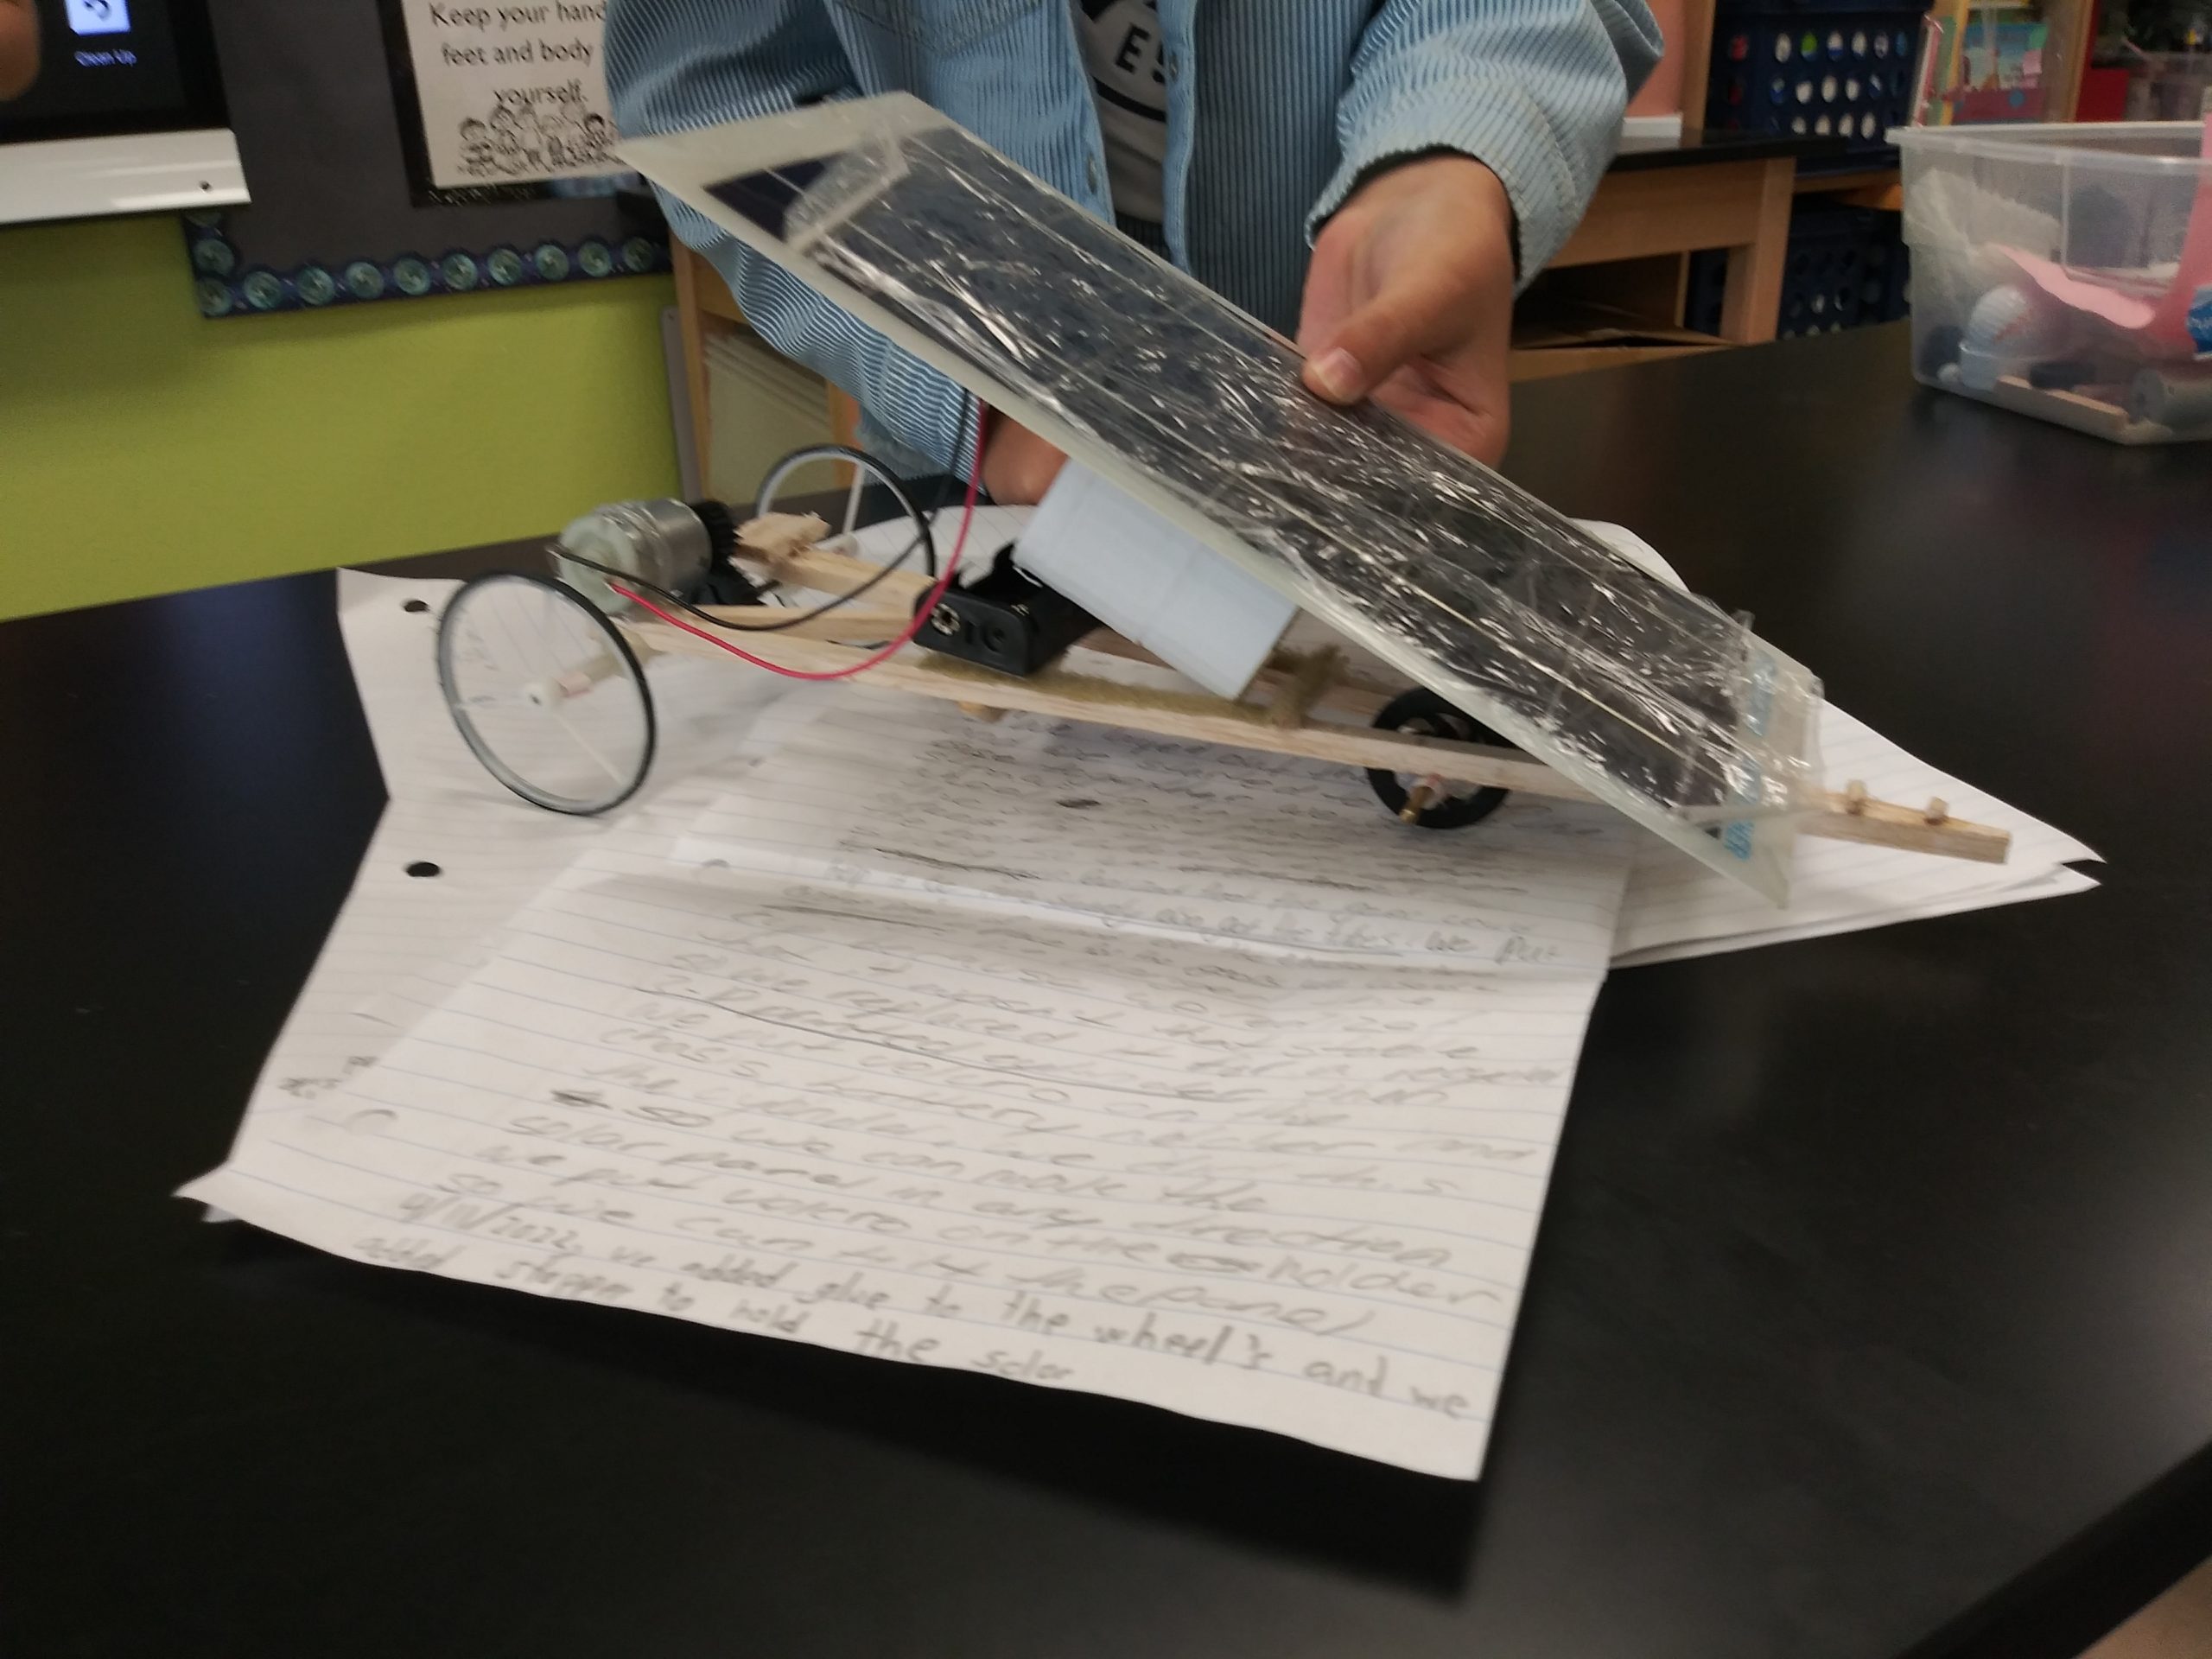
Currently, we changed the squishy with the cup design because it wasn’t durable, so we replaced it with a recycled 3-D cylinder that had a sealed bottom to hold the golf ball. We added velcro to fix the solar panel to the cylinder. Now the solar panel can freely move to the right or to the left if the sun’s position requires it. The cylinder also is the place we will put the golf ball. We had to add pieces of straw to block the front rod from shifting.
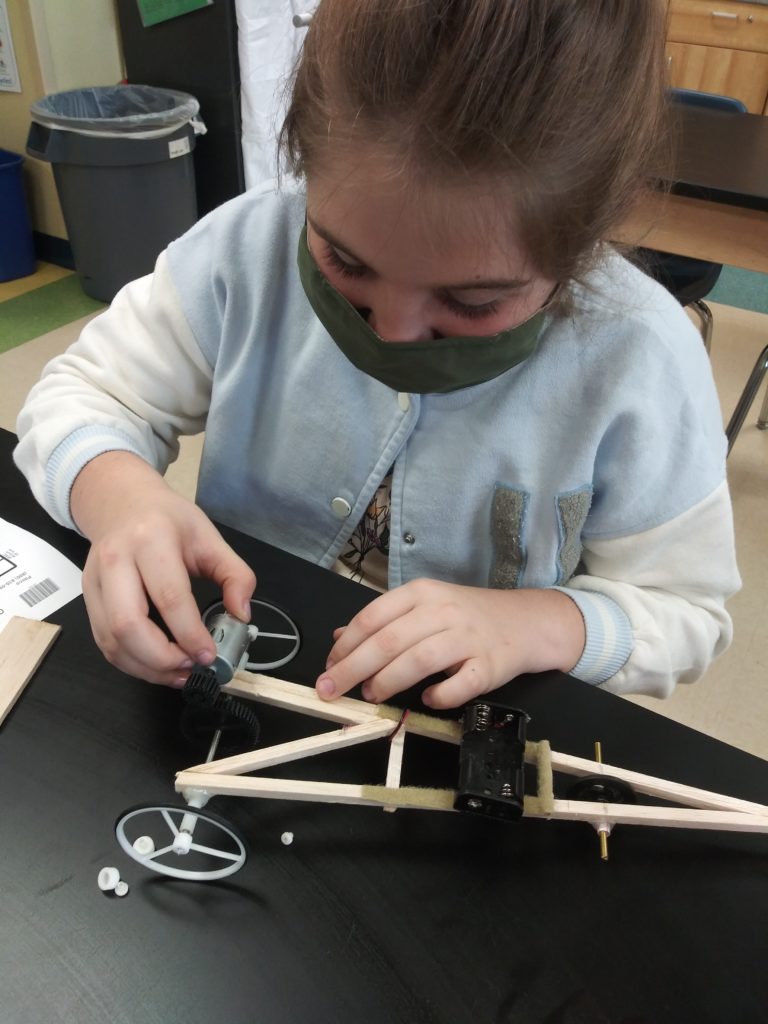
3/18/22
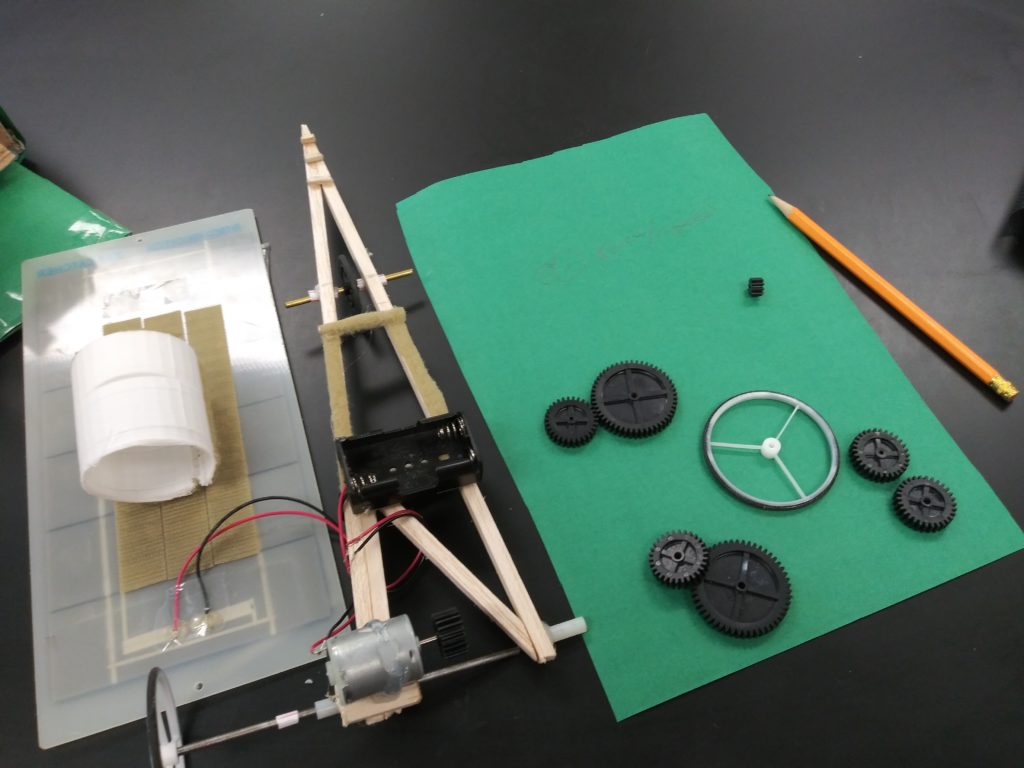
The car doesn’t start easily. It is too early to try it, so we will try it again during our recess. The car barely moved. It needed more force to start. We put apart the back wheels, the wears, and the motor.
3/21/22
The transition relation with the gears had to be changed so this time we used a one-guided gear with fewer teeth and bigger wear in the axle to increase the force. We had to add a wood piece to elevate the motor and make the gears work together. The car moved! But it was slow.
3/25/22
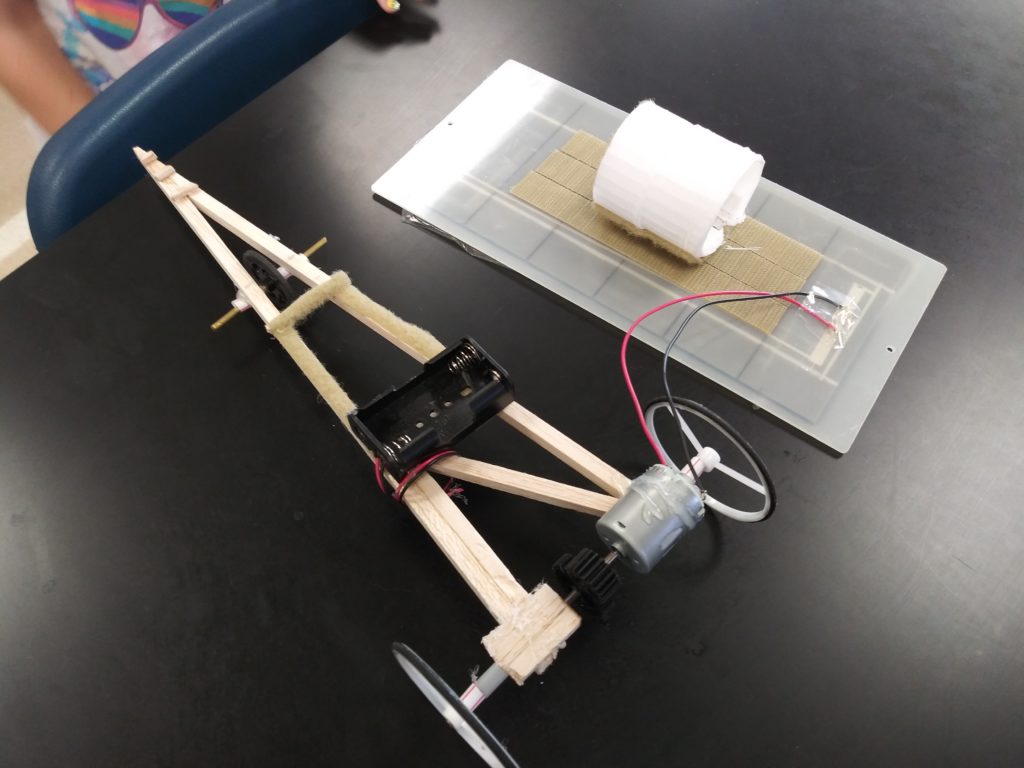
We changed the back wheels. the new ones are lighter than the ones before, and their diameter was (1and 1/2) bigger compared to the diameter of the wheels that we used before. After this change, the car moved slightly faster. It starts well but runs slow. It is not ready for the competition.
3/27/22
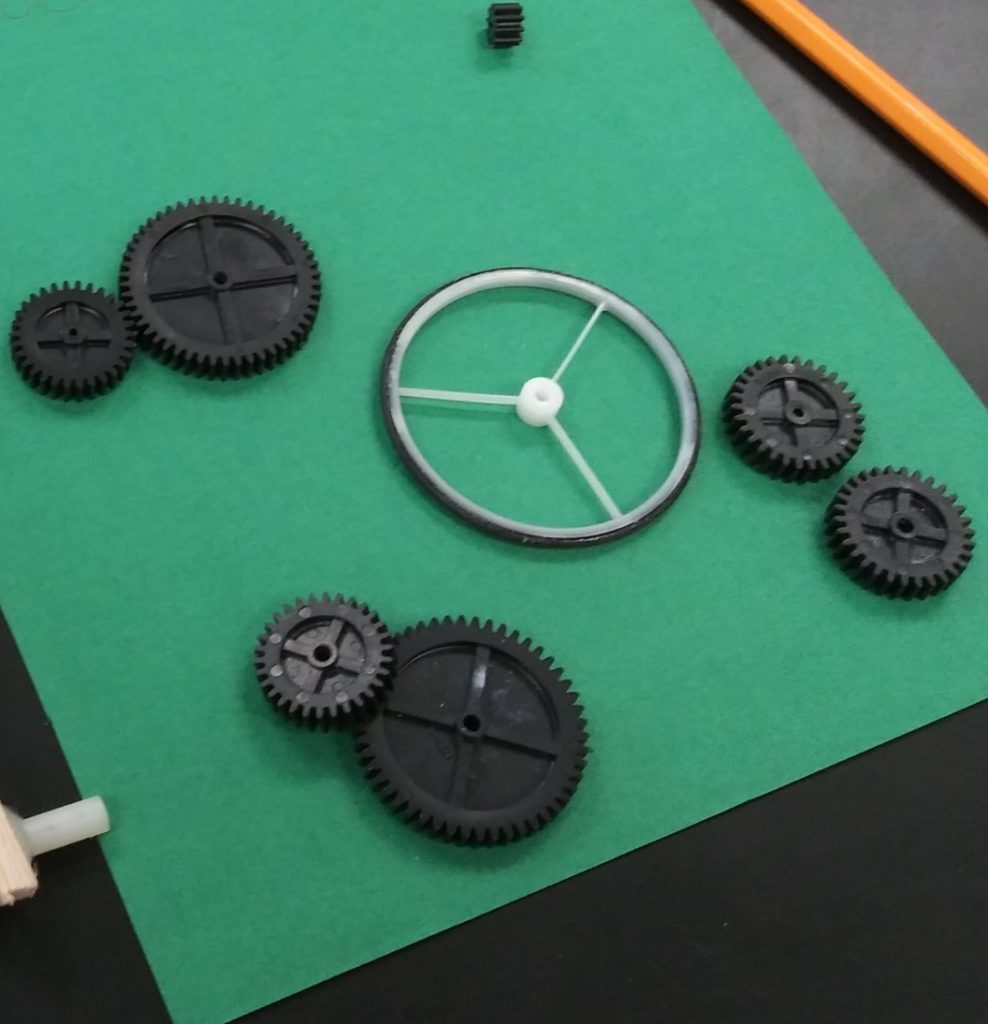
We needed to increase the speed now so the wear in the motor could be with few teeth but the guided in the axle had to have a smaller diameter. We want to get the perfect combination of force and speed. One of our light and fragile, plastic wheels broke when we took it off. We found another in a box of wheels that Ms. Berriz has in her lab. We are getting nervous because the car is not responding as we need and the time is flying. Carefully, we took off the parts again. We had to use a hot glue gun to release the motor and the extra wood that we added last week.
3/29/22
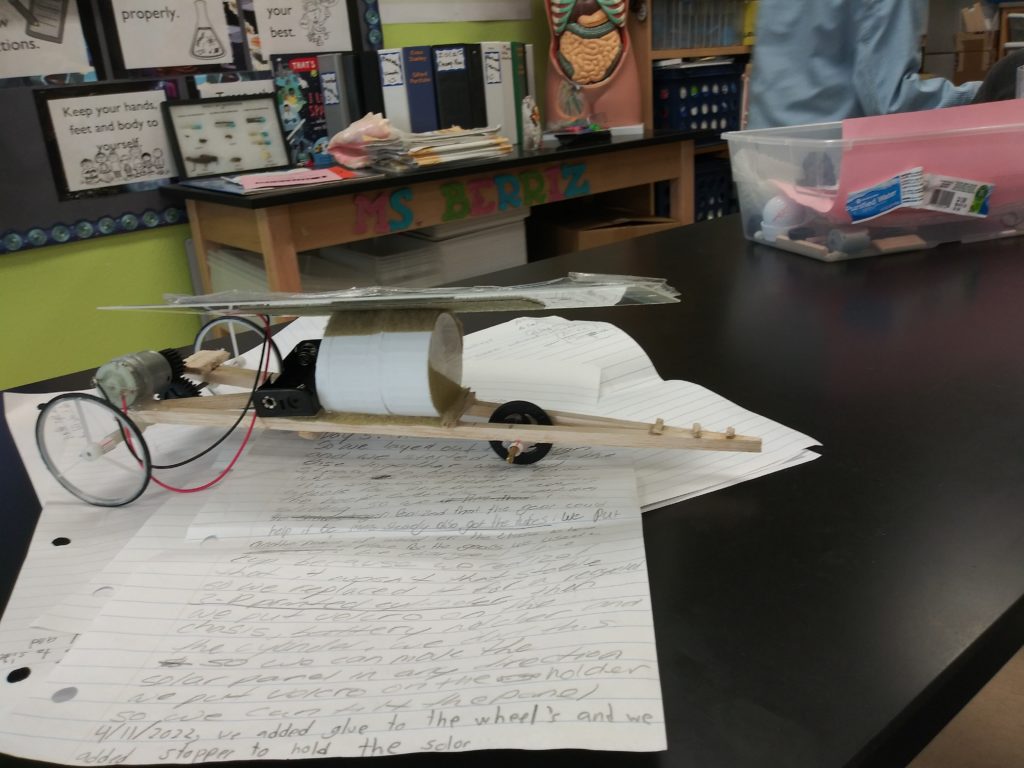
By this time we came up with another idea, to hold the cylinder in place we want to use velcro as well, and also to hold the batteries holder. We won’t use hot glue, we removed it. Now the panel will be able to move from side to side, up and down, and flat to 45 degrees! We carefully stuck the velcro on the chassis and the batteries’ holder. We added some on the cylinder. It works so well!!!!!
4/4/22
Today we changed the gears looking for a faster car. We used hot glue to fix the motor to the chassis with no extra wood.
4/9/22
We added three small pieces of wood to the tip of the chassis to make it hold better and not break while in motion.
4/12/22
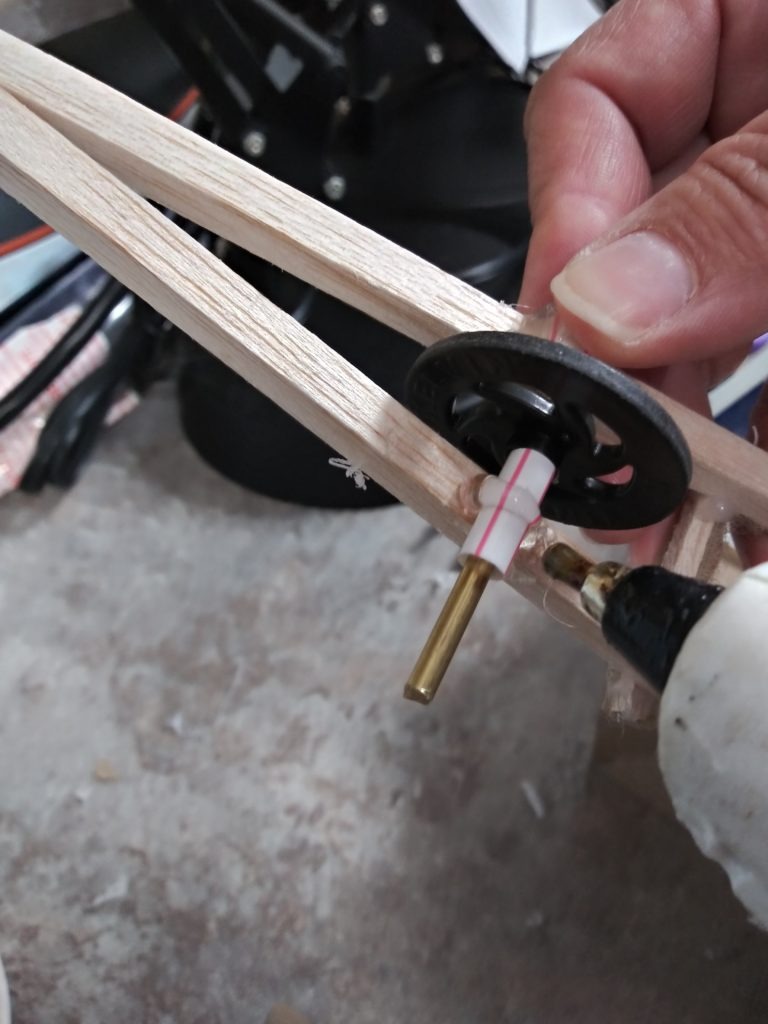
4/12/22
Today, we tested the car and we figured that the car was turning to the right instead of going straight. So we adjusted the front wheels axis 3 mm up on the left side. Then after we tested it was going too much to the left instead of straight. We are also putting in a string guide that we have that will help the car to go straight.
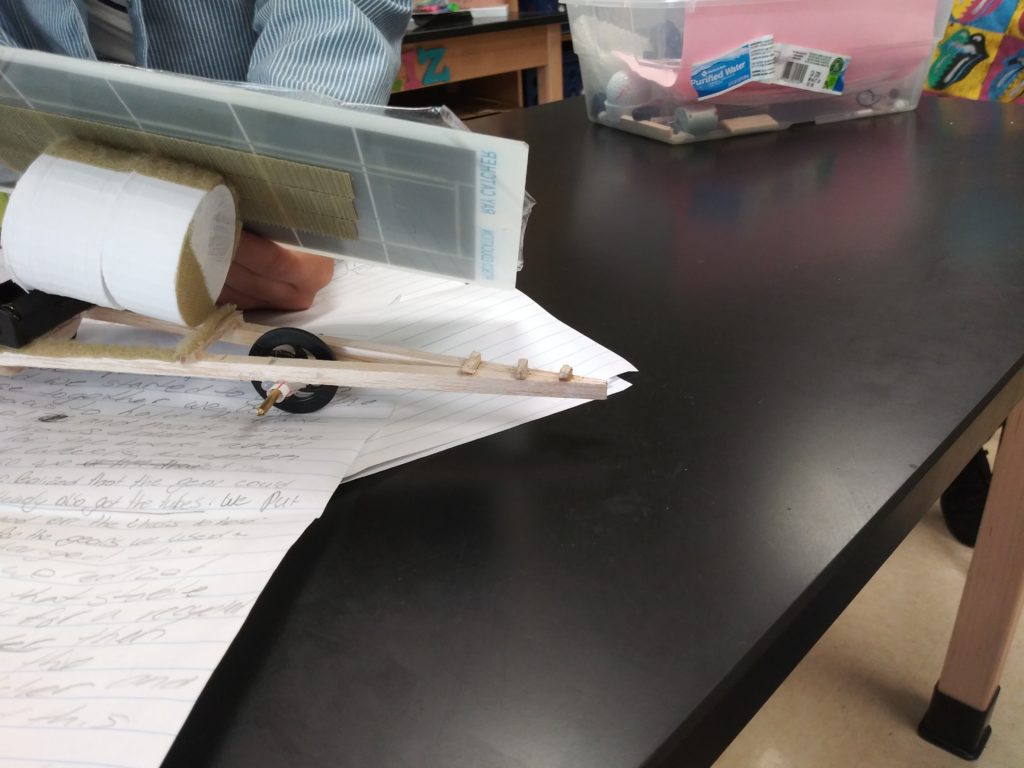
4/18/22
The gear combination works but went out of place because the open straw fell off of the right-back wheel, so we taped it. The car started moving to the left. So we moved the left front straw guide a couple of millimeters forward. We moved it in several positions until we got it where it needed to be.
4/19/22
The rubber around the wheel fell off for the fourth time in a row, so we glued it down again. Hopefully, it doesn’t come off this time.
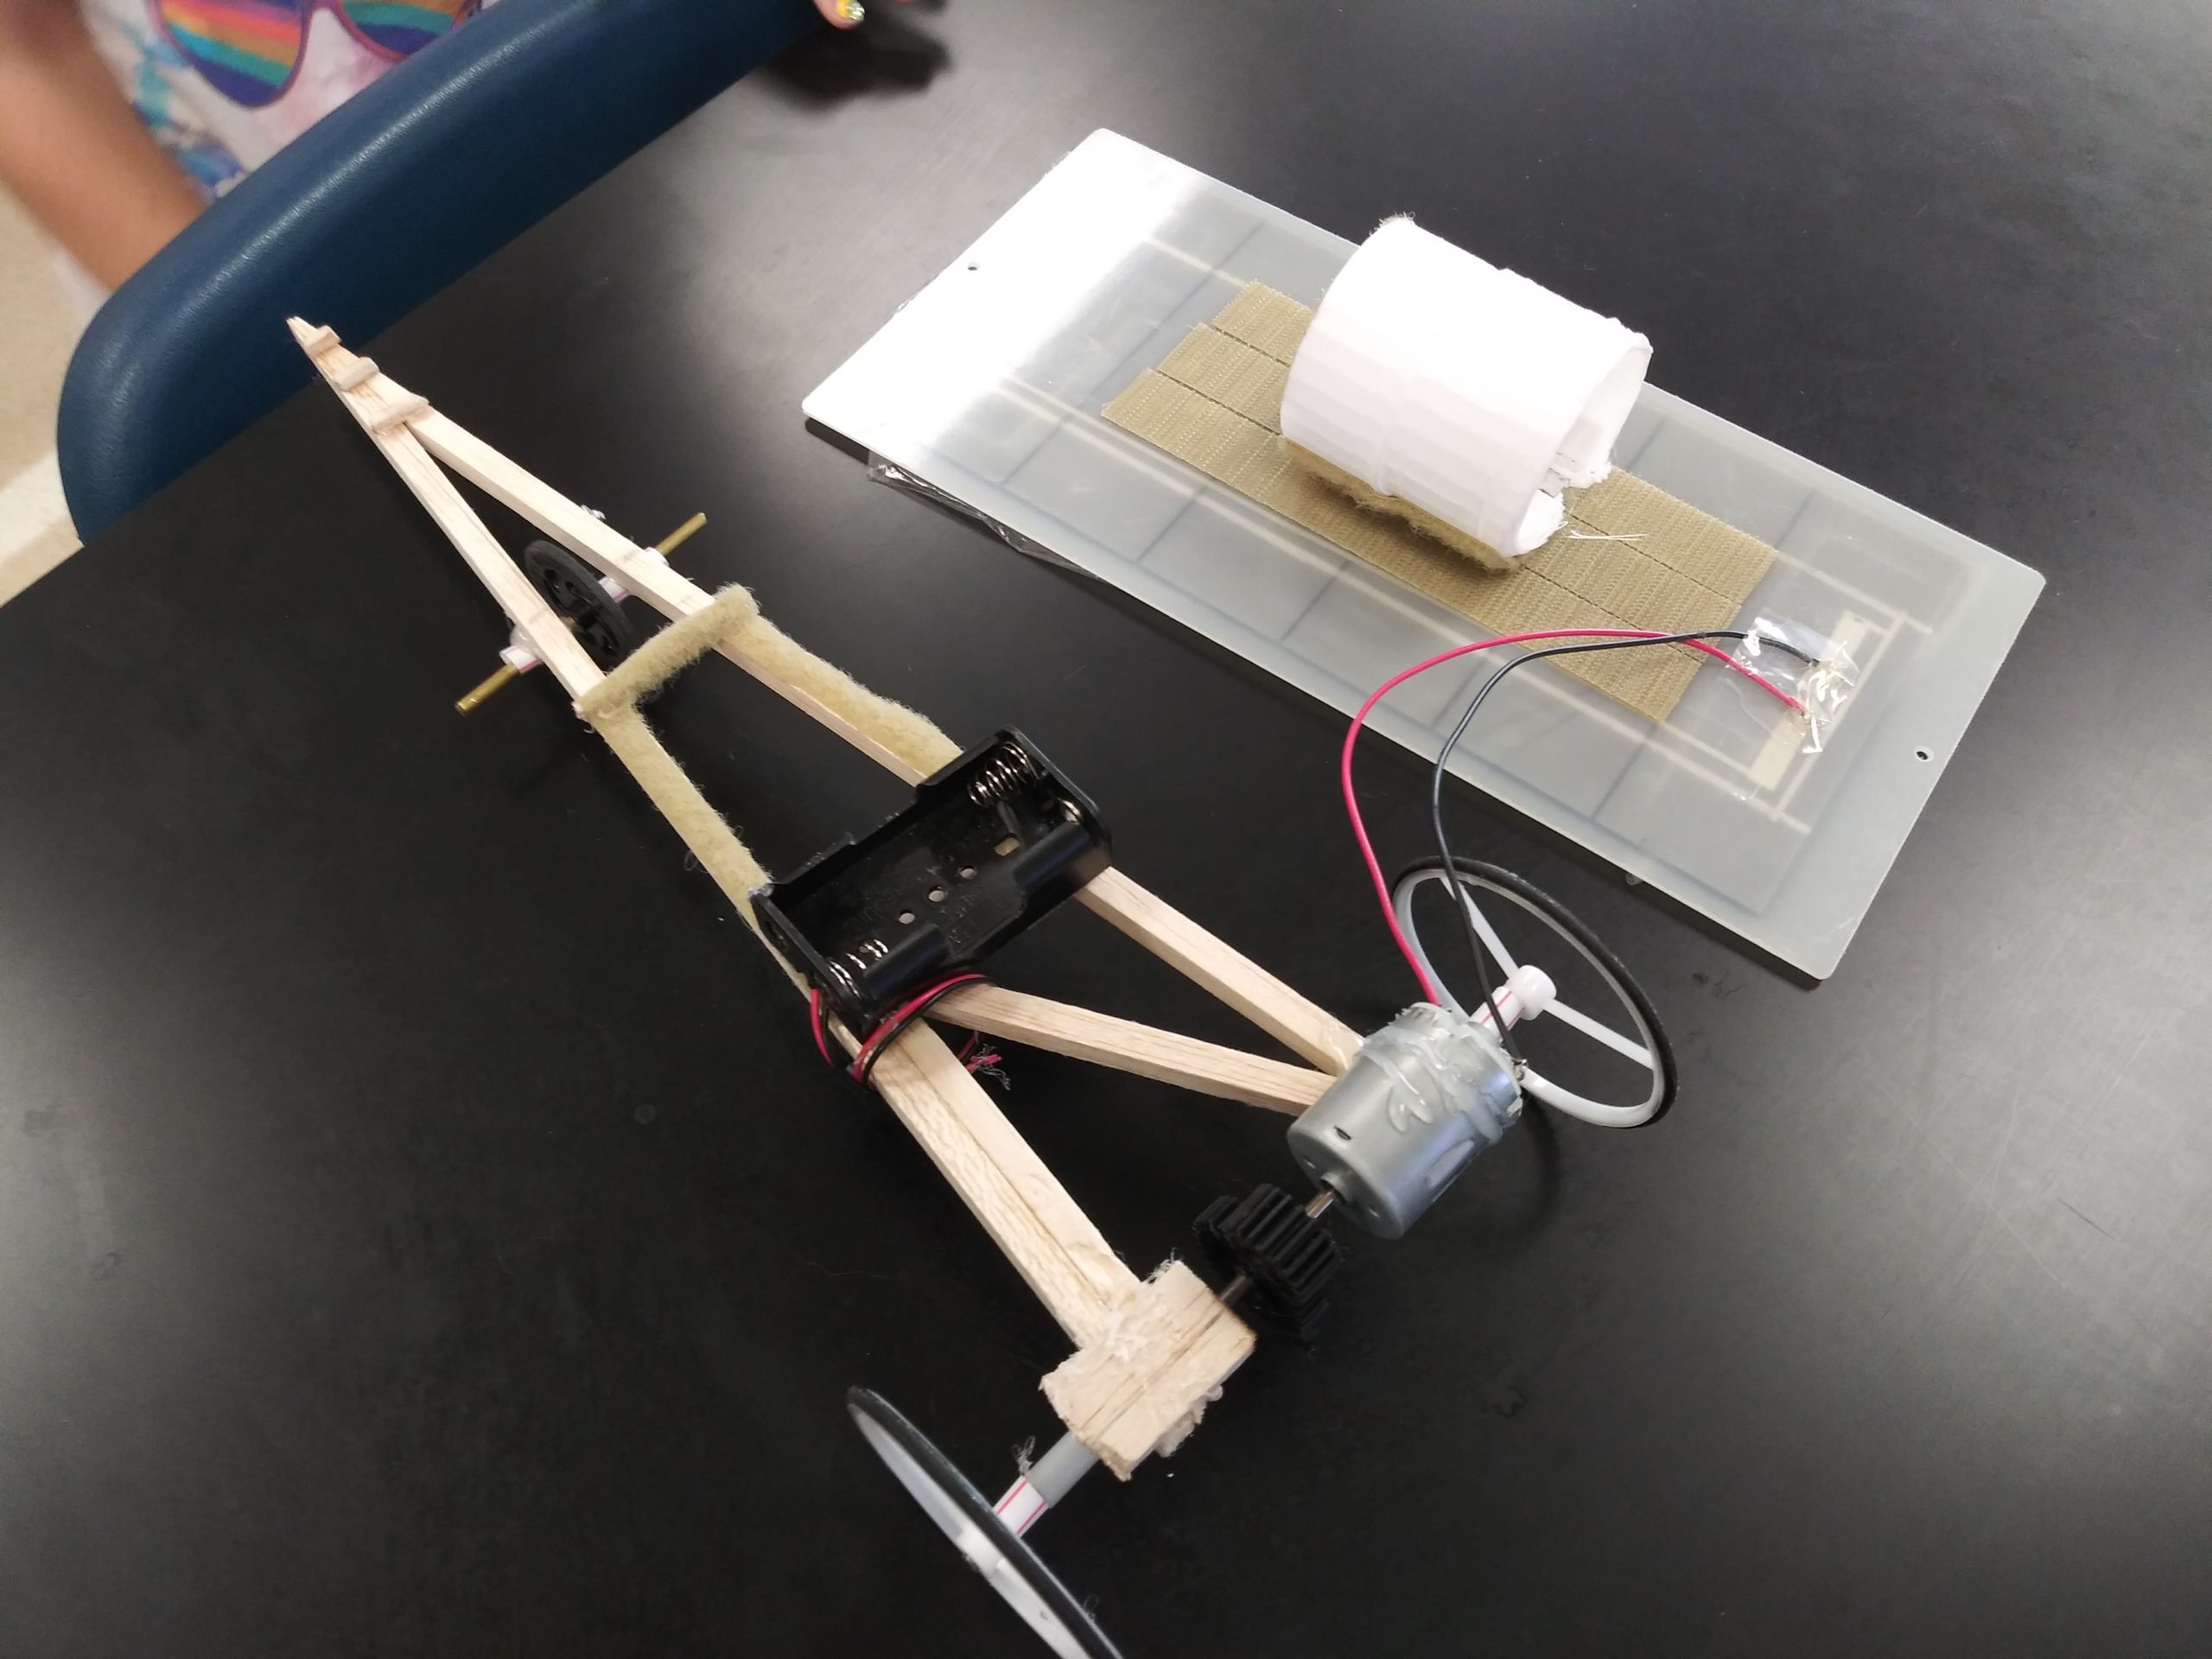
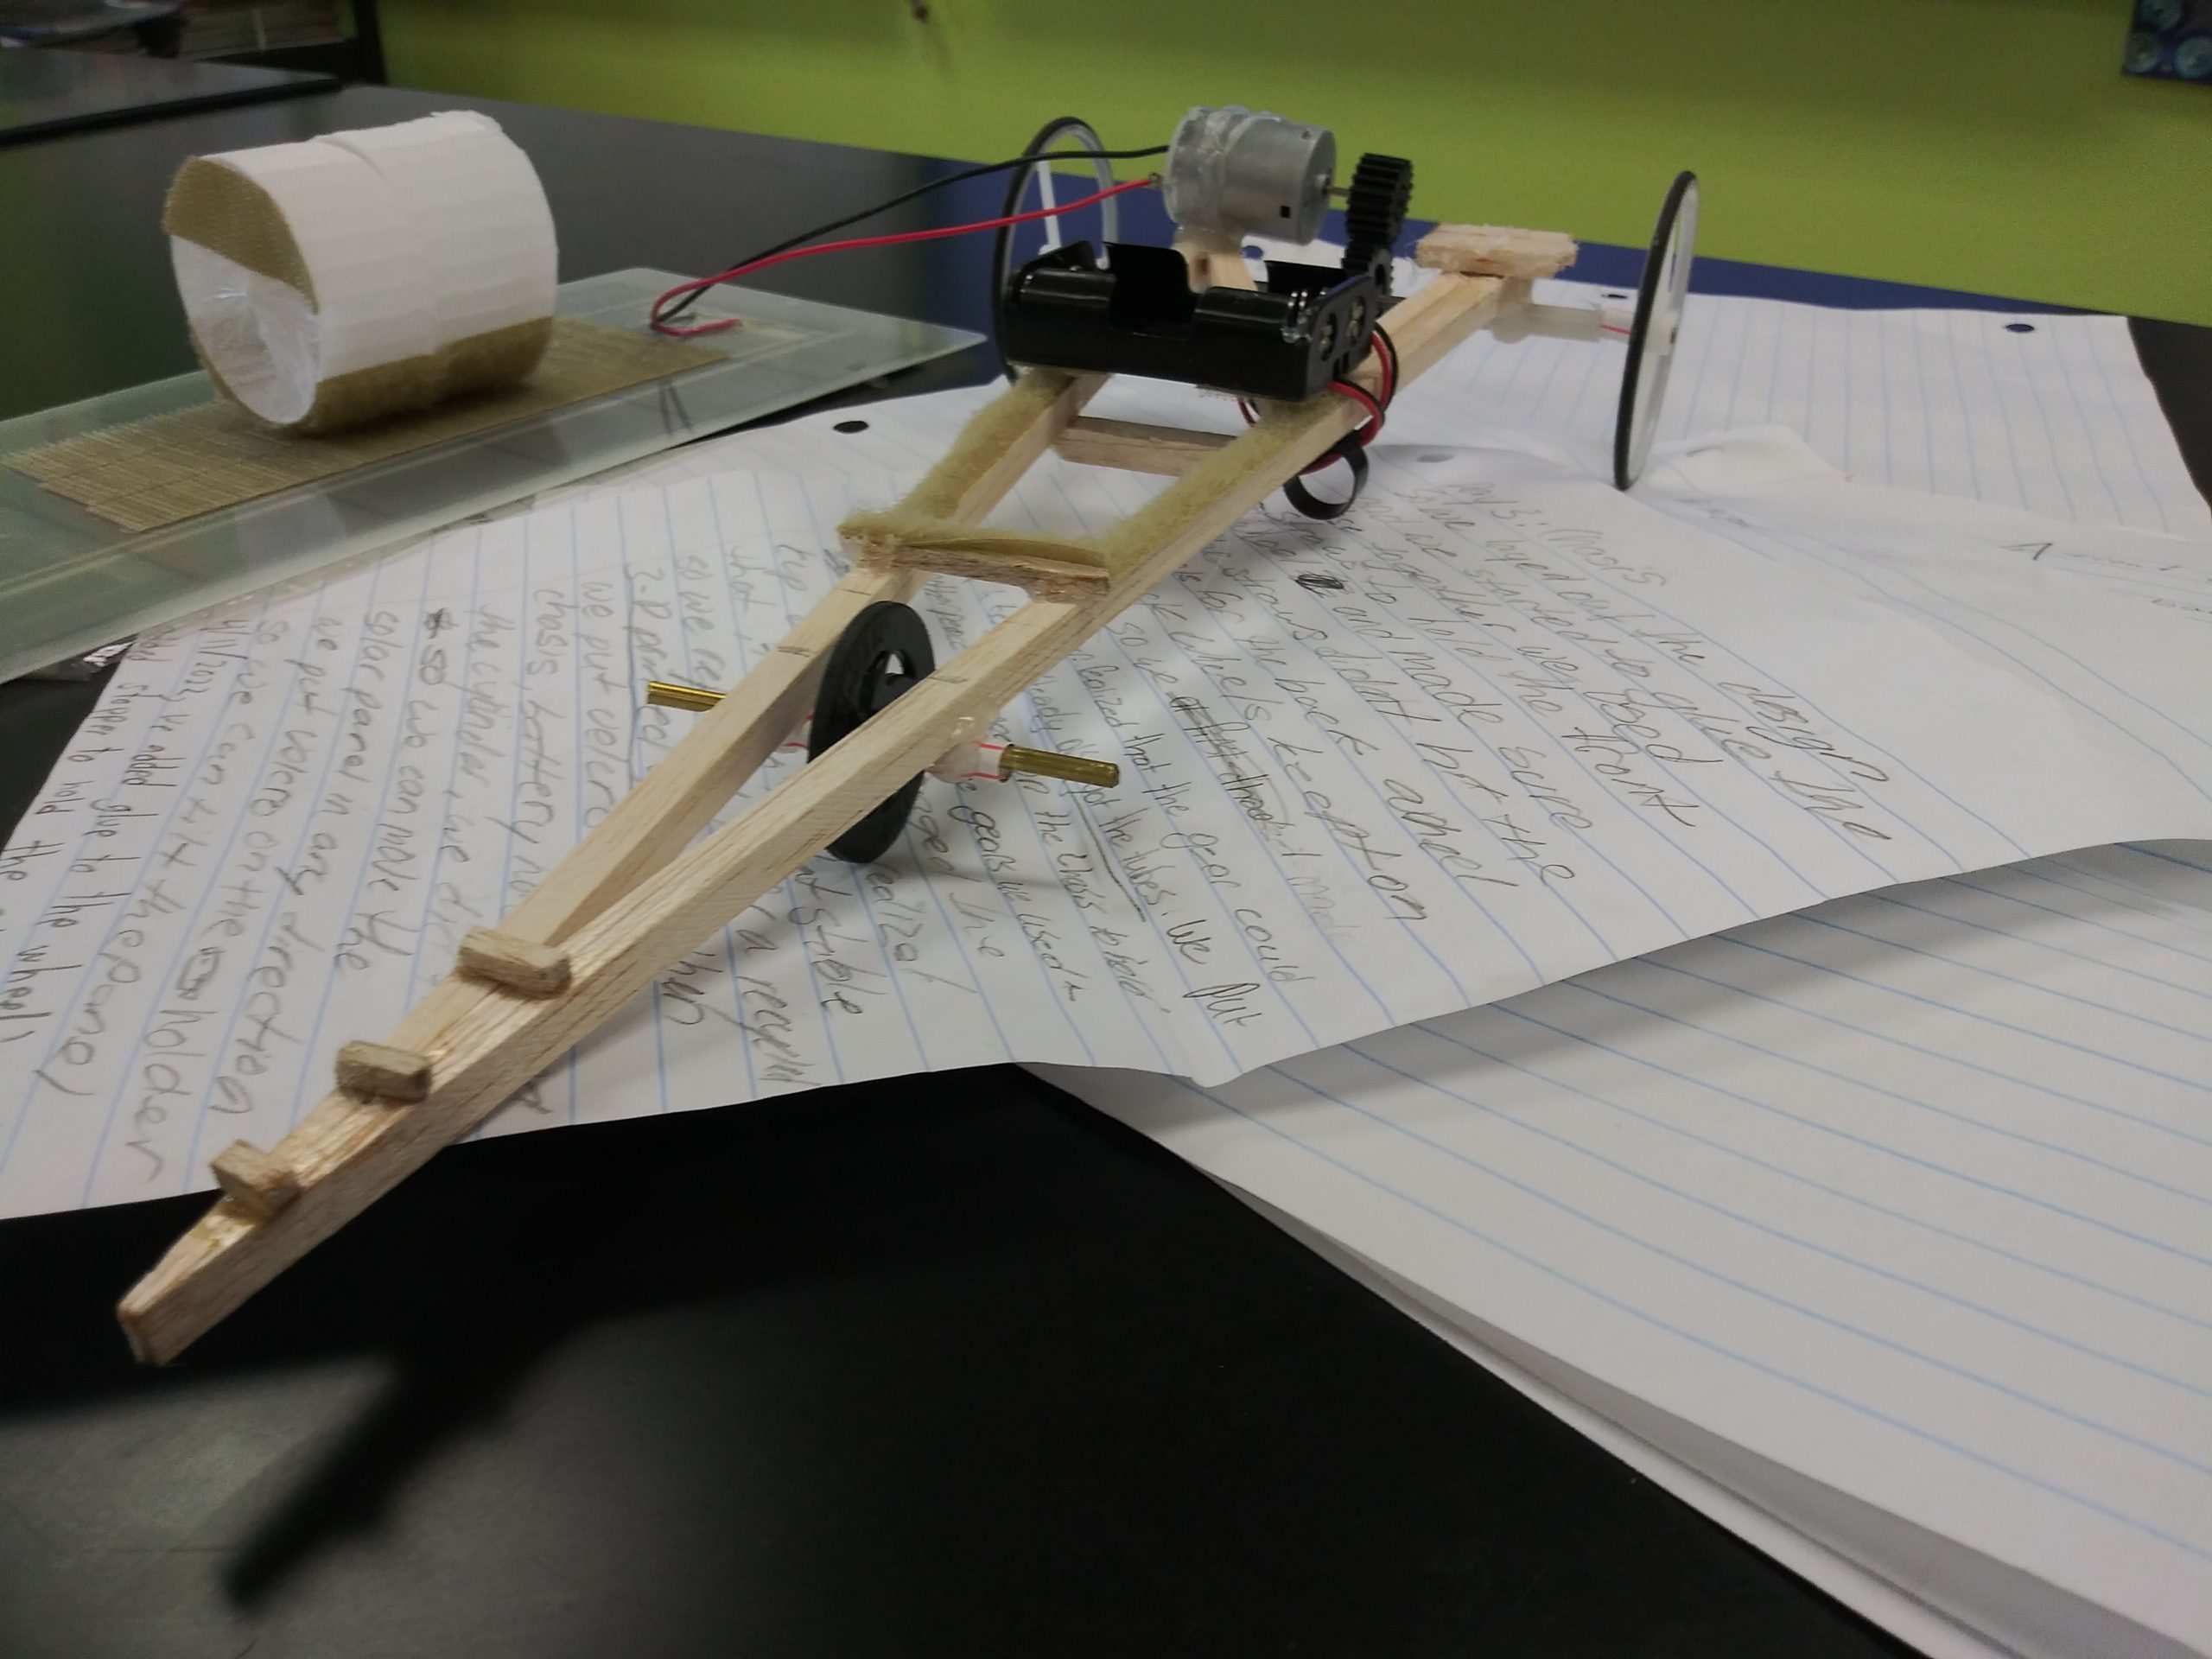
4/20, 21, 22 /22
During these three days, we focused on finishing our website. It was a challenge because sometimes you know what you did and how you did it, but explaining it to someone else and saving it in front of the camera wasn’t easy for some of us. This project has trained us in many ways!!! We hope you enjoy it as much as we did!
—————————————————————————————————————————————
Explanation
(gears)
(chassis)
(velcro)
(wheel + ball holder)
————————————————————————————————————————————-

Wow! Congratulations! You did a great job on this project and you explained each step well! I hope you are all feeling happy and proud for a job well done!
Looks like a fun project! Great job Gals and good luck!
The way you laid out the details (dates/events/photos) is a great idea and makes it look very professional. Great job!