Super Solar Racers
Event Location: Virtual
Competition: Junior Solar Sprint
Division: 4-6 (JSS Green)
School: Bay Meadows Elementary
Team Size: 2
Gagana, Gauri
About Us
Gagana – 4th grade, Bay Meadows Elementary School
Gauri – 5th grade, Bay Meadows Elementary School
Purpose
The purpose is to make a fast moving solar powered race car, which is sturdy and will not be damaged that much on impact. It should have an adjustable solar panel, and an easy place holder for the battery pack so it doesn’t fall off while the car is moving, and in case there is no sunlight we should have alternative energy source which will allow us to easily change the source of energy to battery if we are not able to utilize the sun light.
Experiment
We conducted three different tests
- We tried to build the model on a piece of cardboard : We cut a piece of cardboard to a same size as supplied wood board in the Ray Catcher Sprint Kit and tried taping the axel using tape, cardboard was flimsy and our car did not move at all, but it helped us understand we needed a solid base for our construction. We did not power this car with the battery.
Outcome: It helped us figure out that we needed to use a harder base, a different placement of the gear on the axel, and where to place the motor.

2. We used three popsicle sticks glued them together with smaller popsicle sticks. We first used a 60 tooth 2mm gear on the motor and a 20 tooth 2mm bore gear on the axel, this did not work well so we decided to use 50 tooth 1/8 inch on the motor assuming if the motor can spin the bigger gear faster, it will help run the car faster by pushing the 20 tooth gear on the axel. We also tested the polarity of the motor and direction in which we want to move our car.
Outcome: what we found out was, the car was not moving as fast as we expected and it was damaging the gears. We marked the polarity on the motor, where we needed to place the rear wheel and which direction our car should move. We learnt that the larger gear on the motor will make the gear slippery and if the gears are not sitting on each other then car will not move forward because the gears were not in good contact.

3. We used the provided wood board in the Ray Catcher Sprint Kit and made a cut big enough to fit the gear as explained below in the procedure, we used a 40 tooth 1/8″ bore gear on the axel and a 20 tooth 1/8″ gear on the motor, this helped the car run faster by pushing the 40 tooth gear on the axel. We also placed the 20 tooth gear on top of bigger gear so it did not slip.
Outcome: We were successfully able to make our car go faster while keeping it stable without it falling apart.


Material Used
- Wood sheets – #2
- Alligator clips – #2
- Rear Wheels – #2
- Front Wheels – #2
- Wide rubber bands – #2
- Nylon spacers – #4
- Steel axles – #2
- Plastic gears – #2 (20 tooth 1/8″ bore for motor, 40 tooth 1/8″ bore for axel)
- Ping pong ball – #1
- Sheet of cardboard – #1
- Paper cup – #1
- Scissors – #1
- Hot glue gun – #1
- Number 14 rubber bands – #2
- Motor – #1
- Pencil – #1
- Ruler – #1
- Sandpaper – #1
- Hobby Knife – #1
- Fine cut hack saw blade – #1
- Soldering iron -#1
- Soldering led – #1
- Solar Panel – #1
- battery pack with switch #1
Procedure:
- We took a sheet of wood which we used as a base for our car, then we took another sheet of wood, and cut out 2 pieces about 1.2″ in. and 1″ in. later we used this for a bumper, after that we cut out two more pieces of wood about 3″ in. and 1″ in. wide for providing support to the battery and angle for our solar panel.
- We drew a line in the center of our wood sheet that we used as a car base and attached a 3″in. piece of wood with hot glue in the middle of our car base, we gave 1″ in. space for the battery pack and glued the 1″ in. piece of cut wood down.
- We flipped the car base to the other side and cut a small rectangle out (1-1/2″ deep x 5/8″ wide) to fit the axle gear and we drew a line about 1 inch where we wanted it to attach the axle to the car base.
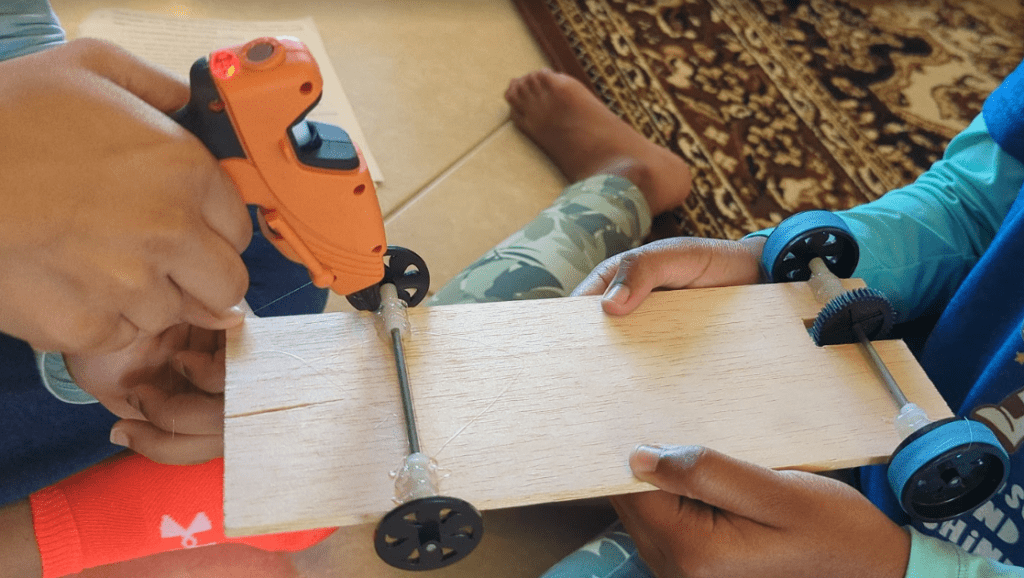
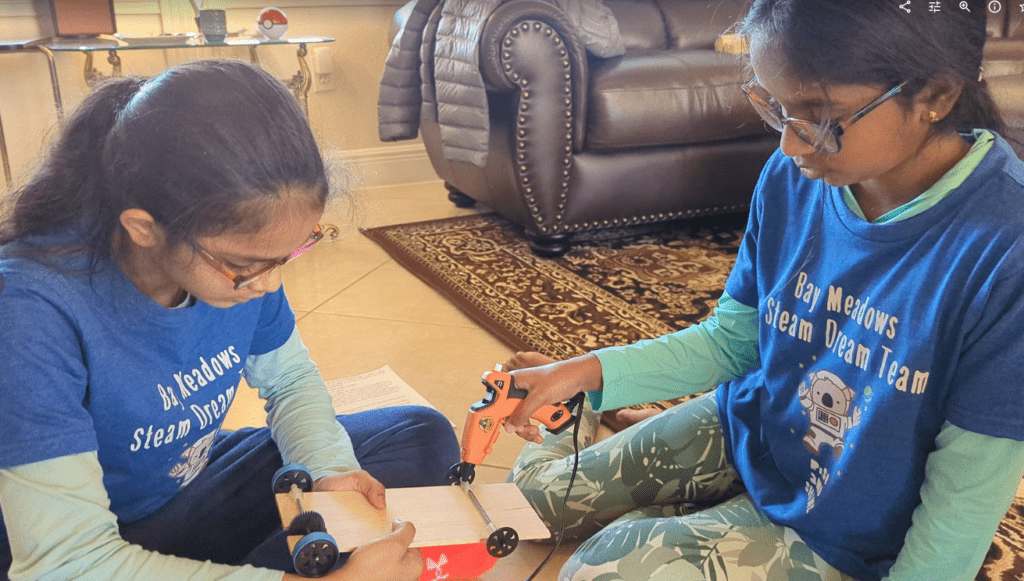
- We connected the 40 tooth gear to the axle, and adjusted to gear to align with car base, we then put nylon spacers on both sides of the gear and attached the rear wheels and 2 wide rubber bands on the axle. We made sure the nylon spacers were close to the rear wheels so that they didn’t wobble and then we stuck the nylon spacers to the car base. We stuck the nylon spacer to the car base with a hot glue gun.
- We connected the 20 tooth gear to the motor and made sure to power the motor and we checked to see if the gears on axle and the motor were rotating in the right direction to make the car move forward, we also marked the bed height for the motor to be glued to the car base, then we attached the motor with hot glue to the car base.
- We attached the 1.2 in. piece of wood that we cut out to the other side of the car base, this was for the front of the car. Then we attached another 1″in. piece of wood next to the bumper wood to provide good support to the bumper and the extra 0.2″ acted like a stopper to the solar panel so it did not slip off and we also used the bumper to adjust our solar panel angles to get enough sun light. Our goal is to provide 30, 45 and 60 degree angles for our solar panel.
- We took a paper cup, cut it into 1.2″in. and stuck it to the car base next to the middle 3″in. wood separation, we used this to store our ping pong ball.
- We connected the wires coming from battery pack with solar panel wires and then soldered the two alligator clips to the two connected wires, that was used for powering the motor. We did these parallel connection of the wires so that if we didn’t get the power from solar panel on a rainy day, we could easily switch over to the batter power.
Data:
We used below formula shared by academickids.com
Power = Torque(acceleration) x Rotation speed
Power: The mechanical output power of a motor.
Speed: The speed of a motor is defined as the rate at which the motor rotates. The speed of an electric motor is measured in revolutions per minute, or RPM.
Torque: The torque output of a motor is the amount of rotational force that the motor develops.
We used gear ratio from https://academickids.com/encyclopedia/index.php/Gear_ratio
The gear ratio is the relationship between the number of teeth on two gears that are meshed or two sprockets connected with a common roller chain, or the circumferences of two pulleys connected with a drive belt.
From Experiment 2: We used 20 tooth 2mm bore gear on the axel and 50 tooth 1/8 inch on the motor assuming if the motor can spin one rotation with 50 tooth gear can push smaller 20 tooth gear 2.5 time faster and car will start faster and continue to move faster. This did not work well.
| Gear | Ratio |
|---|---|
| 50-tooth gear/20-tooth gear | 2.5:1 |
Experiment 3: We used 20 tooth 1/8th inch bore gear on the motor and 40 tooth 1/8 inch on the axle assuming if the motor can spin 20 tooth gear it will start the car slower but can generate 2 times the rotation speed and eventually make the car go faster on long run.
| Gear | Ratio |
|---|---|
| 20-tooth gear/40-tooth gear | 1:2 |
Conclusion:
- We were able to build a stable car
- Achieved 28 feet or 8.53 meters in 8 seconds consistently
Acknowledgement:
We used the material shared by Pitsco Education, academickids.com to understand the basics of building a car, how to connect motor and make a car move, thanks to the information shared online.
Our Solar Power Race Car
Demo 1: We tried to cover the car with shade to show battery was removed from the car, once we provided sunlight car starts moving with the solar energy from solar panel.
Demo 2: When sun is at the peak, car can move much faster, as car can get more power from the solar panel.

I love that you outlined your thinking process to come to a conclusion. Top scientists and designers in the making. 🙂
Great Job girls. I am so impressed with how much time, design, and research you put into this project. You never gave up and kept finding ways to make things work better.
Great Job girls. I am so impressed with how much time, design, and research you put into this project. You never gave up and kept finding ways to make things work better. You should be very proud of your work.
Way to go! This is amazing…you should be proud of yourselves! You represented BME well!
WOW! Gauri and Gagana went above and beyond with your solar powered vehicle. I can tell you persevered while problem solving and used creativity and collaboration to design a successful vehicle. I’m incredibly impressed! Way to go Gauri and Gagana. I hope you are proud of your hard work.
Great job and amazing work!
way to go you did such a good job